From a model view to a photo
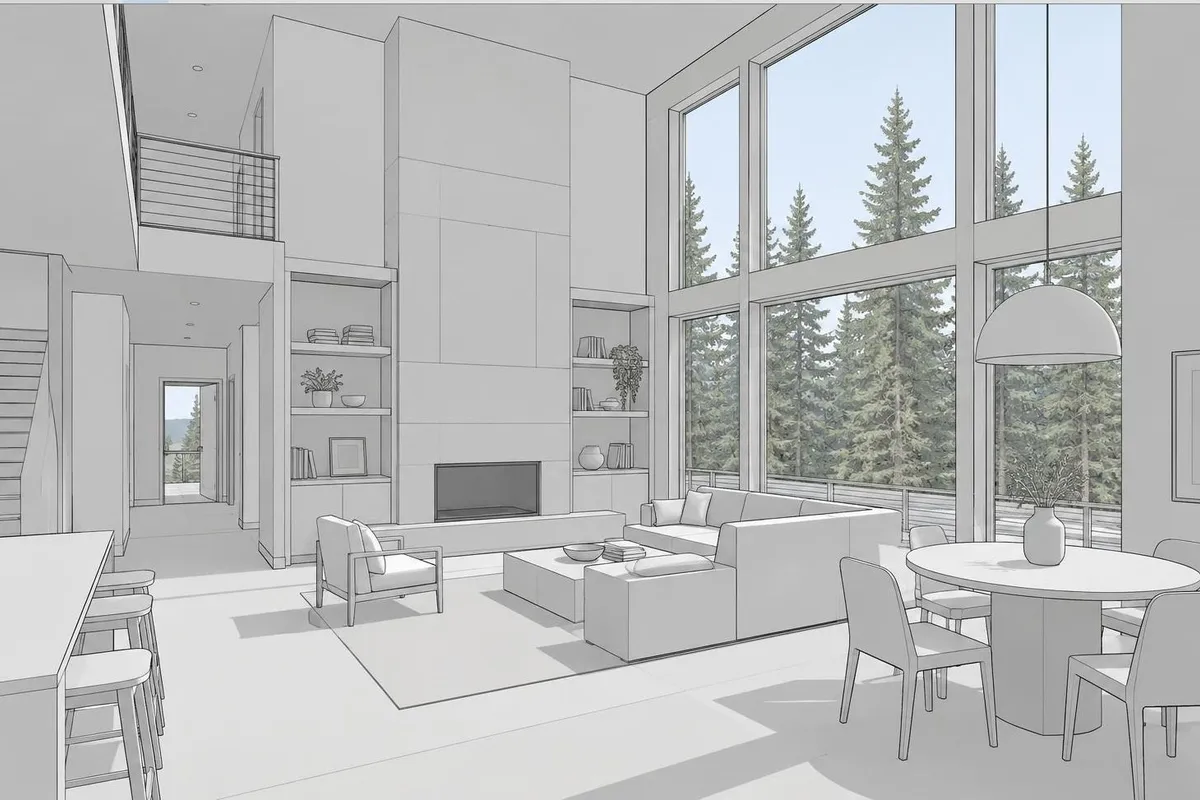
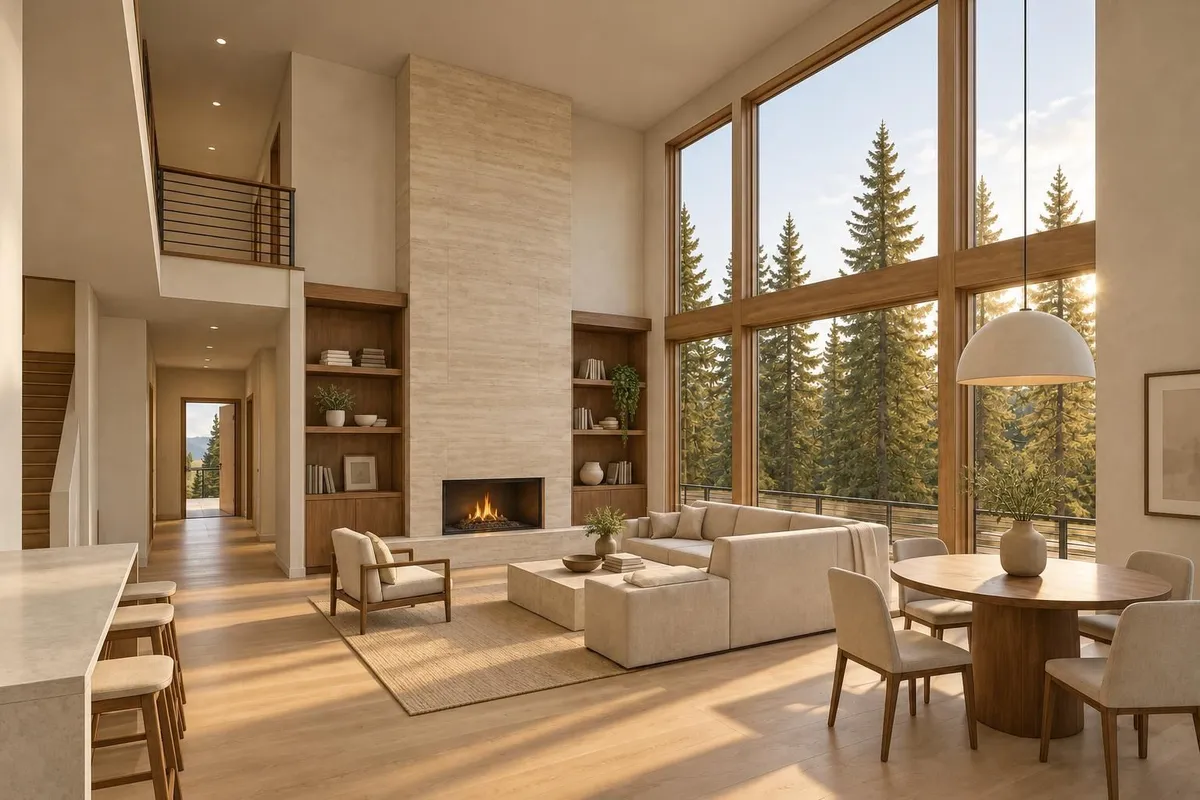
How to export the view
Renderlii works from an image of the view, not from the model file, so any program that can save its viewport works. Set up the camera first: what you export is what gets rendered.
- SketchUp: File › Export › 2D Graphic, as PNG or JPG. A saved scene keeps the camera if you want to render it again later.
- Revit: open the 3D view or camera view, then File › Export › Images and Animations › Image.
- Rhino: the ViewCaptureToFile command saves the active viewport at the size you choose.
- ArchiCAD, Vectorworks, Blender and others: save or capture the 3D window as an image. A plain screenshot works too.
- JPG, PNG, WebP or HEIC, up to 20 MB. The render keeps the shape of your image, so a wide view stays wide.
Tips for a better render
- Hide what isn’t the building: axes, guides, section planes, dimensions, tags and the model’s sky and ground colours if they’re loud.
- Clay or white styles work well. You don’t need textures; untextured views are expected. If you’ve already applied materials you care about, say so (“keep the oak floor and the black window frames”).
- Use two-point perspective for interiors and elevations so verticals stay straight; the render follows the lines you give it.
- Model what must stay. Window and door positions, ceiling shape and built-ins are kept as drawn. Loose furniture and décor can be left out and described instead.
- One view per render. For a set of views, give each the same material answers so they match, then check them side by side.
Materials and light without a material editor
After you upload, the assistant says what it sees and offers choices to tap, such as white oak or walnut, raw concrete or plaster, golden hour or overcast. Pick several and they’re blended, or spread across four options for the same camera (1 credit each). You can always type the spec instead: “honed travertine fireplace, limewash walls, bronze hardware, late afternoon”.
- Change one material afterwards with “Edit one area”: draw a box around the floor or the sofa and say what it should become. Only the box changes.
- Put a real product in the room by pasting its product page link: that exact sofa, chair or lamp goes into the render from its photo (2 credits).
- Set the lights with Lighting under the image: each light off, dim, medium or bright, warm, neutral or cool, in one edit.
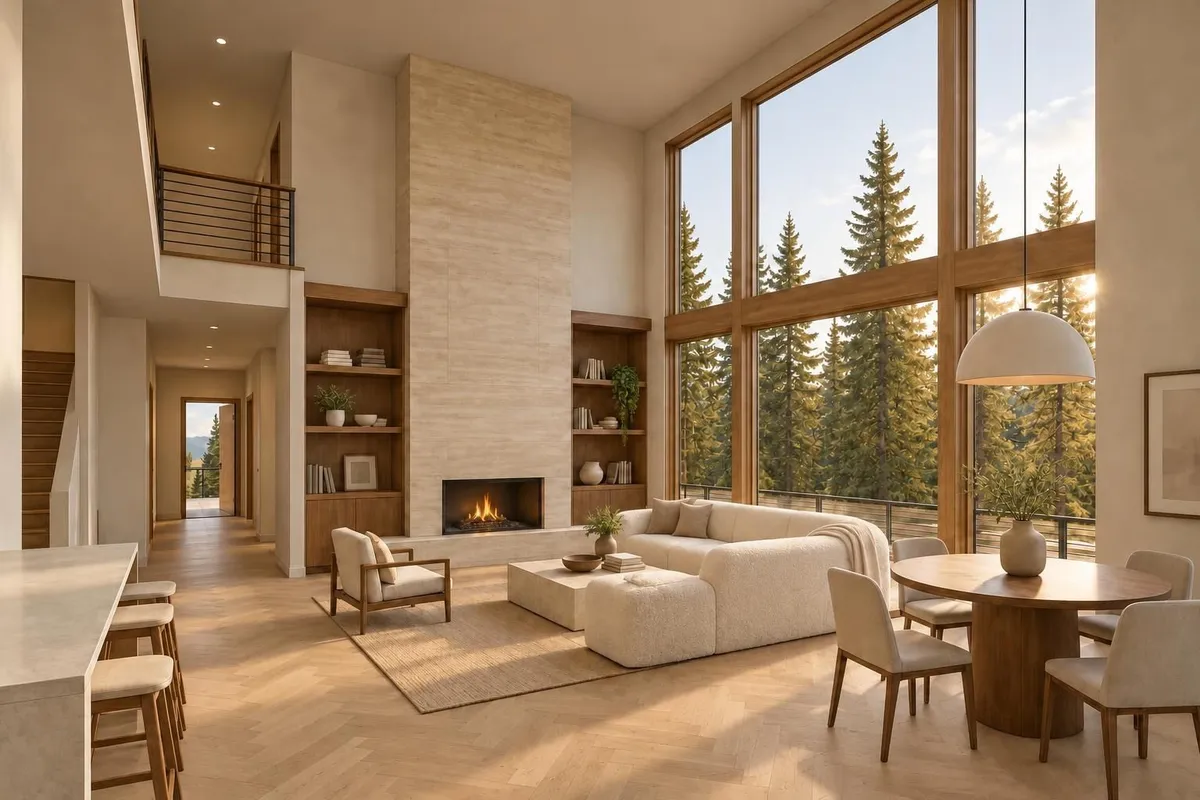
What it is, and what it isn’t
It’s a fast way to show a client what the space will feel like, from the model you already have. It isn’t a physically based renderer reading your geometry: the AI works from the picture, so small details can shift. Check every render against the model before it goes to a client, and keep the model as the source for dimensions and construction.
Working from a hand sketch or a floor plan instead? See sketch to render and interior design rendering.
What it costs
Each render uses 1 credit (2 with real products placed in it). New accounts get 5 free renders with no credit card; they carry a “Made with Renderlii” mark until you buy a plan or a pack. Professional plans start at US$29 (CA$39) a month for 100 credits and include a commercial licence with no watermark. See all prices.
Questions
Do I need a SketchUp rendering plugin?
No. Export or screenshot the view and upload it in your browser. Nothing is installed in SketchUp.
Can I upload a .skp, .rvt or .3dm file?
No. Renderlii works from an image of the view, so export a PNG or JPG of the camera you want rendered.
Will the render keep my camera and design?
It’s told to keep the composition, camera angle, proportions and window and door positions, and to change materials and light. The AI works from the picture, so check each render; if something moved, say what to fix in the same chat.
Does it work with Revit, ArchiCAD and Rhino?
Yes, and with any other 3D program. All it needs is an image of the view.
Do I need to apply textures and lights first?
No. Untextured clay or white views work; choose materials and light in the chat. If some materials in your model must stay, say which.
How long does a SketchUp render take?
Usually under a minute. Four options are made at the same time.
Can I use the renders for client presentations?
Yes. Paid plans include a commercial licence with no watermark.